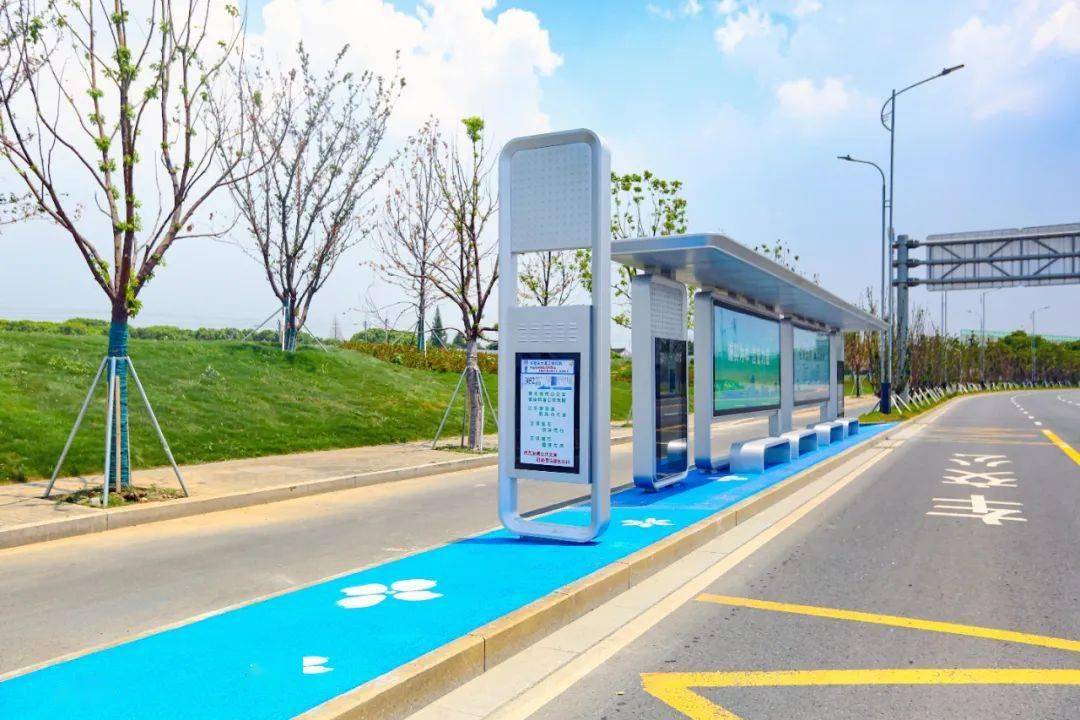
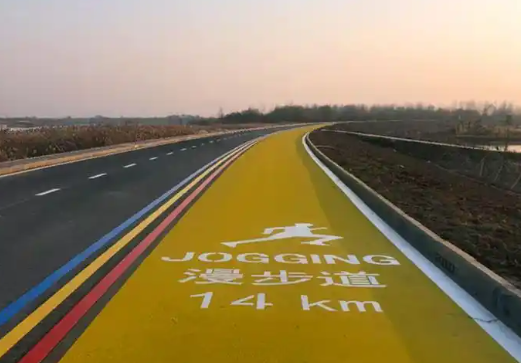
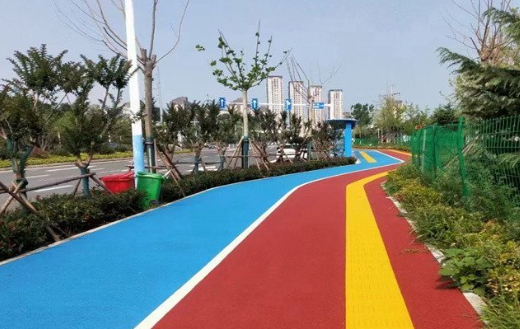
Cold-pour road anti-skid materials are widely used in modern transportation infrastructure due to their fast application, strong bonding performance, and excellent skid resistance. These systems are commonly applied on highways, intersections, bridge decks, ramps, bicycle lanes, pedestrian crossings, and urban traffic zones where safety and durability are critical.
Unlike heat-applied systems, cold-pour anti-skid materials are installed at ambient temperature, making them more efficient and easier to use in field conditions. Below is a clear step-by-step guide to the professional installation process.
Proper surface preparation is the foundation of a successful installation.
Inspect the pavement for cracks, oil stains, dust, or loose particles
Repair damaged or weak areas before application
Ensure the surface is structurally sound and stable
Clean thoroughly using sweeping, air blowing, or high-pressure washing
A clean and dry surface ensures strong adhesion between the substrate and the anti-skid material.
Before mixing materials, clearly define the working area.
Use masking tape or layout markings for precise boundaries
Ensure correct dimensions for lanes, crossings, or designated zones
Protect adjacent areas to prevent contamination during application
Accurate marking helps achieve a neat and professional finish.
Some pavement systems require a primer layer for enhanced bonding.
Apply primer evenly using rollers or spray tools
Ensure full coverage without pooling or gaps
Allow proper drying time before applying the main material
Primer improves adhesion, especially on smooth or dense surfaces.
Cold-pour anti-skid materials typically consist of two or three components.
Combine resin binder and curing agent according to manufacturer ratios
Mix thoroughly until uniform consistency is achieved
Avoid over-mixing or under-mixing, which may affect curing performance
Prepare only the amount that can be used within the working time
Proper mixing ensures optimal strength and durability.
The mixed material is then applied to the prepared surface.
Pour the resin mixture evenly onto the marked area
Spread using squeegees or notched tools to control thickness
Ensure uniform coverage without voids or uneven patches
Consistent application thickness is critical for performance stability.
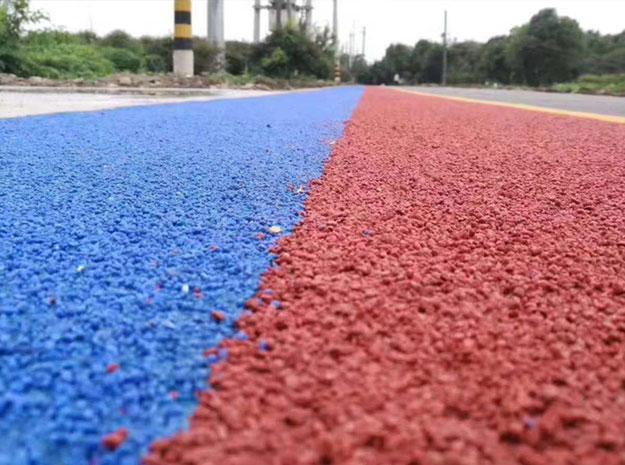
Immediately after binder application, aggregates are applied.
Evenly broadcast high-friction aggregates onto the wet resin surface
Ensure full surface coverage with no exposed binder areas
Apply sufficient quantity for maximum texture and friction
Aggregates such as ceramic particles or calcined bauxite are commonly used for high durability and skid resistance.
Curing allows the system to develop full mechanical strength.
Allow the surface to cure under recommended environmental conditions
Avoid traffic access during curing time
Protect from rain, dust, or contamination during the curing stage
Curing time may vary depending on temperature, humidity, and material type.
After curing, loose particles must be removed.
Sweep or vacuum excess aggregates from the surface
Ensure only firmly bonded particles remain
Inspect surface texture for uniformity
This step ensures a clean, stable, and high-friction finish.
A final inspection ensures installation quality meets performance standards.
Check surface texture consistency
Verify bonding strength and adhesion
Inspect for defects, gaps, or uneven areas
Ensure skid resistance requirements are met
Any minor defects should be corrected immediately before opening to traffic.
Once fully cured and inspected, the surface can be opened.
Confirm complete curing before allowing vehicles or pedestrians
Gradually introduce traffic if possible
Monitor initial performance under real traffic conditions
Proper timing ensures long-term durability and safety performance.
The installation of cold-pour road anti-skid materials is a precise and systematic process that directly determines the final performance of the pavement system. By following correct procedures—surface preparation, accurate mixing, controlled application, proper aggregate distribution, and full curing—contractors can achieve high-quality results with excellent skid resistance and long service life.
Cold-pour systems offer a fast, efficient, and durable solution for modern road safety applications, making them ideal for high-friction surfacing projects in both urban and highway environments.